

Launch a subscription website: your first-service checklist
Launch a subscription website using your existing site: define an offer, connect a Komashi link or widget, and check payments, invoices and service delivery.
At a glance
Start with one clearly defined offer, then connect a service link or embedded picker to your website. Check payment, invoicing and actual service delivery separately. Komashi documents that a generated service can become public immediately with starter prices, so review pricing, copy and visibility before sharing it.
What does a subscription website need before launch?
A subscription website needs a clear recurring offer, a way to select and pay for it, and a dependable process for delivering the service. Your existing website can remain the place where people learn about the offer. Subscription management, payment collection and invoicing then connect to that sales journey.
You do not necessarily need to rebuild the website to start. Komashi documents both direct links to a service page and an embeddable service picker. A link can sit behind a normal website button; an embedded picker requires a page that can load an external script.
This guide focuses on launching one monthly service. The goal is to connect the first customer journey and make each outcome observable before sending visitors to the offer.
Describe one offer before configuring the software
Start with what the customer receives repeatedly. Define the period, price and delivery method, then decide what renewal and cancellation mean for that service.
The following offer is our own illustrative planning example. It is not a Komashi price, a customer result or a completed test in a live account.
| Decision | Choice in this example |
|---|---|
| What is being sold? | One 45-minute online professional consultation each month. |
| What is the period? | A monthly subscription that renews each month. |
| What is the assumed customer price? | £49 per month; final tax and invoicing settings require a separate check. |
| How is it delivered? | The appointment is arranged separately; no automated booking integration is assumed. |
| What happens on cancellation? | In this example, service remains available for the paid period and the next renewal does not occur. Adapt that rule to your own terms. |
| What happens after a payment failure? | The provider checks the subscription state and contacts the customer under its defined operating process. |
This worksheet separates the system’s records from your delivery obligations. Recording a subscription does not arrange the consultation. A content membership likewise needs a defined way to grant access to the actual content.
Prepare the service in Komashi
According to the first-service guide, Komashi generates the initial service when you create your provider. Review that starting point against your own offer before sharing it.
The documentation says the generated service can be public immediately, using starter prices. If you are still preparing it, turn off Storefront settings → Status until the offer is ready.
Use the service editor to work through four checks:
- Give the plan a name and description that reflect what you actually deliver.
- Check the price and billing period in Pricing.
- Review the storefront copy and remove claims, ratings or generic promises that do not apply to your business.
- Open the customer-facing preview and compare it with your offer worksheet.
The service-catalogue documentation also explains that generated copy and starter prices need review. A prefilled field does not establish that you can deliver the promise it contains.
Choose between a service link and an embedded picker
Choose the connection based on how you want customers to discover the offer and how much of the selection experience belongs on your website.
| Approach | What goes on your website? | What to check before launch |
|---|---|---|
| Link to the service page | A button such as “View the monthly plan”. | It opens the right offer and customers understand where the button leads. |
| Service Picker widget | An embedded service-selection interface. | The page permits the external script, displays the right service and works on mobile. |
| Your own API-based interface | A custom customer journey. | This is a separate development project with its own integration checks. |
Copy the direct URL from the service editor. Explain what customers will find after clicking: the plan, its price and the steps to subscribe. That gives them more context than a generic “Continue” button.
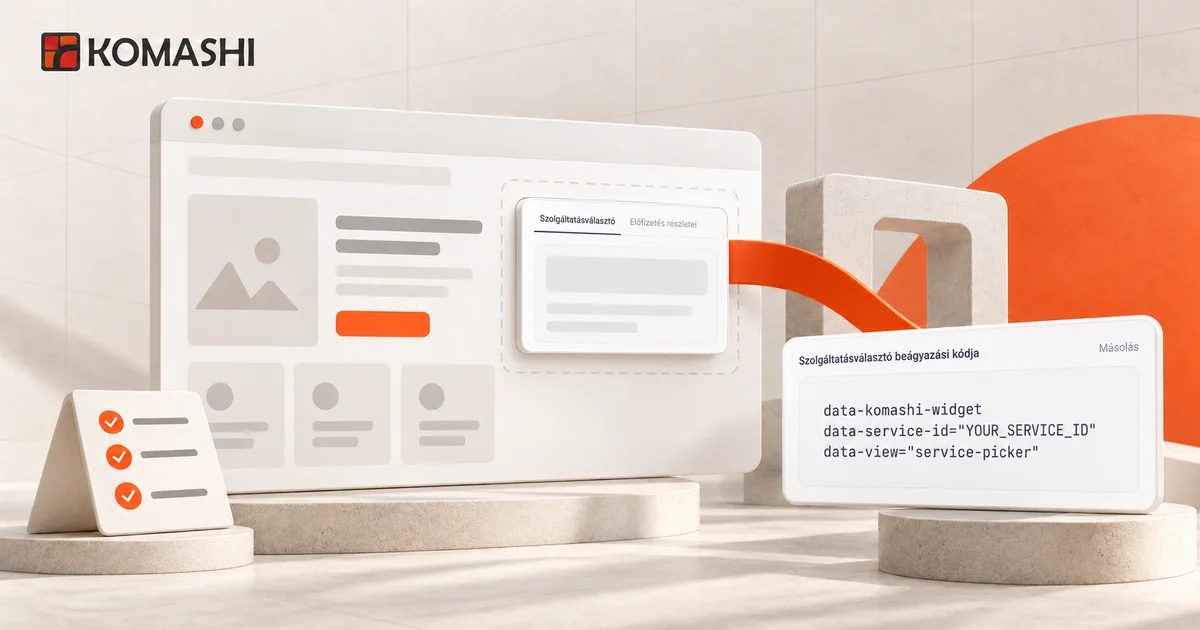
For an embedded interface, Widget settings provides code you can copy. The documentation says the instance host is already included, while the service ID may be a placeholder. Replace that placeholder with the actual service ID before publishing the page. A working demonstration alone does not establish that the embed points to your intended offer.
The widget-integration guide identifies Service Picker as the view for selecting a service and subscribing. Displaying and managing an existing subscription uses a separate view. Keep those two customer tasks distinct when placing controls on your website.
Connect payment, invoicing and service delivery
For each renewal, track three outcomes: whether payment succeeded, whether the billing document was produced, and whether the customer is entitled to the next service period.
Komashi documents separate payment-provider settings and invoicing-provider settings. Choose a payment method that suits your market and renewal requirements. A provider appearing in a list does not establish that every available payment method supports automatic recurring collection.
The documented invoicing connection issues invoices after successful payments. That integration is optional. If you issue invoices manually outside Komashi, assign responsibility and a check for missing documents. In our consultation example, arranging the appointment also remains the provider’s task.
Make it easy to find what the customer receives, how the service renews and where to request cancellation or support. The legal-links guide describes connecting your own provider documents. Their content needs to reflect your actual offer and market; a platform’s documents do not define your service for you.
A ten-point checklist before your first subscriber
Run these checks in your own environment. For payments, follow the payment provider’s documented testing procedure. A visual preview is only one part of the journey.
- Offer: customers can understand what the subscription includes and excludes.
- Price and period: the website, plan and purchasing interface agree.
- Visibility: traffic reaches the offer only after starter prices and generic copy have been reviewed.
- Entry point: the button or widget leads to the intended service.
- Mobile use: plan selection and payment can be completed on a small screen.
- Payment: the successful result is traceable with the payment provider.
- Invoice: ownership of document creation and failed-invoice follow-up is clear.
- Delivery: customers know how to receive or use the service they bought.
- Renewal and cancellation: each state change has a defined next action.
- Support and follow-up: customers can contact you and you can trace the subscription’s outcome.
For the consultation example, a successful payment is only one acceptance point. The customer also needs the next step for arranging an appointment, and the provider needs to know which paid period the consultation belongs to. That is a requirement of the example service, rather than a claim about built-in appointment booking.
Measure the journey after launch
Track four separate stages: visitors reaching the offer from your website, subscriptions created, successful payments, and customers receiving the service. This keeps a button click distinct from a completed purchase or delivery.
Use the first problems to improve the relevant step. If people open the plan but cannot explain what they get, review the offer. If payment succeeds but customers do not know how to use the service, improve the delivery instructions. Page views alone do not resolve either question.
Ready to connect subscriptions to your website? Explore Komashi, then follow the first-service guide or the widget setup instructions for your chosen approach. Start with one clearly defined offer and complete its customer journey.
Frequently asked questions
Do I need a new website to sell subscriptions?
You can use an existing website to explain the offer. Komashi documents a direct service link and an embedded service picker. Choose the approach that fits your website and check the complete customer journey.
Can I publish the widget code exactly as copied?
The documented code contains your instance host, but the service ID may be a placeholder. Replace it with the actual service ID and check the intended service, mobile display and customer journey before publishing.
When does a generated Komashi service become public?
The current documentation says generation can publish the service immediately with starter prices. Review prices and copy before sharing the offer, and turn off service visibility while you prepare it if needed.
Does creating a subscription also deliver my service?
Delivery depends on your service and integrations. In this guide’s consultation example, arranging the appointment remains a separate task. Define how customers receive what they bought alongside subscription and payment records.
Sources and further reading
- Komashi — Create your first service
- Komashi — Manage Services
- Komashi — Service editor
- Komashi — Widget Integration
- Komashi — Widgets
- Komashi — Payment Providers
- Komashi — Invoicing Provider
- Komashi — Set up legal links
Updated:
More articles
White-label customer portal for subscriptions: a planning checklist
Plan a white-label customer portal for subscriptions: who handles cancellations and invoices, how VAT is applied, and what to test before launch.
Recurring invoice vs recurring payment: what changes?
Does a recurring invoice collect payment automatically? Compare invoicing and recurring payments with a monthly-service example and a failure-handling checklist.