

Subscription management API: connect your customer portal
Connect your own customer portal to a subscription management API: an ID map, API key permissions, checkout, status reads, webhooks and an acceptance checklist.
At a glance
To show and manage subscriptions inside your own application's account area, you connect three things: the server-side REST API, the interface (your own view or an embedded widget) and webhook-based sync. Most integration bugs sit in identifiers and permissions rather than in the calls, so this checklist starts with a synthetic ID map, a key-permission table and acceptance tests.
The short answer: what do you need to connect?
Your customer has already signed in to your application. Why send them somewhere else to check their plan, download an invoice or cancel? If you want all of that in your own account area, a customer portal integration connects a subscription management API to your portal at three points:
- Server-side REST API: create customers, start checkouts, read subscriptions and invoices, change plans, cancel and record usage.
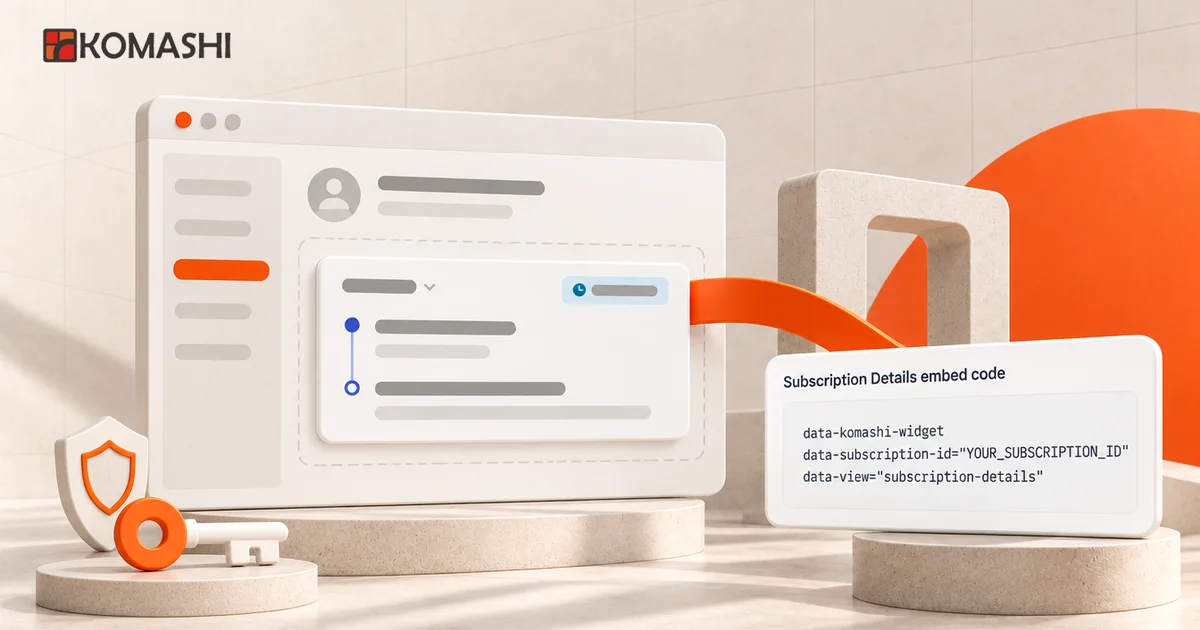
- Interface: your portal either renders its own view from API data or embeds a ready-made widget that displays and manages one specific subscription.
- Sync: webhooks tell you something changed; you read the authoritative state back from the API.
Most integration bugs are not in the calls. They come from which of your users maps to which Komashi customer and which subscription, and from what each key is allowed to do. That is why this checklist starts with the ID map and the permissions.
If you are still deciding what to build yourself, start with the build or buy worksheet. If Komashi’s own branded customer portal is enough for you, the customer portal planning checklist is the better starting point.
Which approach fits your portal?
| Approach | When it fits | What you build |
|---|---|---|
| Link to your Komashi storefront | Your portal only hands off; customers buy and manage their subscription there | A button and some explanatory copy; almost no development |
| Embedded widget in your portal | The subscription should appear on your site, but you don’t want to build the management interface | A backend that picks the signed-in user’s subscription ID, plus the widget embed |
| Your own view from the API | Your own design and logic, for example usage allowance or an invoice list next to the plan | Server-side API calls, your own UI, error handling and sync |
You can mix the last two: plan and cancellation in the widget, usage and invoice list in your own view. The Komashi customer portal page shows what customers get if you don’t build your own interface.
The data flow, simplified:
Browser (signed-in user)
   │  your own session only
   ▼
Your backend ──── Bearer API key ────▶ Komashi REST API (/v1)
   ▲                                       │
   └──────── signed webhook ◀──────────────┘
Browser ◀── widget (only the subscription_id your backend chose)
The API key never leaves your backend; the browser only sees your session and the ID your backend selected.
ID map: what to store in your own database
The table below is a synthetic example with made-up identifiers. It shows which Komashi identifier belongs to which of your own fields; it is not data from a live account.
| Your system (example) | Komashi identifier | Where it comes from | What it’s for |
|---|---|---|---|
users.id = u_1842 | – | your own | the signed-in user |
users.komashi_customer_id | customer_id | the create-customer response or the customer list | starting checkouts, reading customer data |
orders.ref = ord_2026_0042 | external_reference | you send it when starting the checkout | finding your own order again |
subscriptions.komashi_id | subscription_id | the checkout response | status, widget, plan change, cancellation, usage |
subscriptions.komashi_group_id | group_id | the same response | reading group-level usage |
catalog.plan_id, catalog.period_id | plan_id, period_id | catalogue reads | which plan and period is being bought |
The REST API integration and widget docs set three rules:
- A
group_iddoes not replace asubscription_id. Plan changes, cancellations and the Subscription Details widget need the individual subscription ID. - A customer ID does not replace a subscription ID in the widget either.
- Never guess identifiers. Read service, plan and period IDs from the catalogue instead of copying them by hand into code.
API keys: which permission for which task?
You create keys under Control Center → Integration → API. A key identifies the provider, so no separate provider ID header is needed. The full key is shown only once, at creation; if you lose it, create a replacement (API keys guide).
| Portal task | Request (relative to the /v1 endpoint) | Permission |
|---|---|---|
| Show plans and periods | GET /services, .../plans, .../periods | Read |
| Create a customer for your user | POST /customers | Create |
| Start a checkout | POST /services/{service}/subscriptions | Create |
| Read subscription status | GET /subscriptions/{subscription_id} | Read |
| List invoices | GET /invoices | Read |
| Read usage | GET /subscriptions/{subscription_id}/usage | Read |
| Change plan | POST /subscriptions/{subscription_id}/change-plan | Update |
| Cancel | DELETE /subscriptions/{subscription_id}/cancel | Update |
| Record usage | sync-usage or adjust-usage | Update |
Practical decisions:
- Never save a key with no permission selected. According to the docs, the current form then gives the key full access rather than no access. Check the permission badges in the list after saving.
- One key per integration. Replacing one key then doesn’t interrupt other systems.
- Keep the key on the server, in an environment variable or secret store. It must never reach the browser, a mobile app or the widget code.
Four flows your portal has to handle
1. A new subscription from the portal
A made-up example: user u_1842 picks the monthly plan on their account page.
- If there is no
komashi_customer_idyet, the backend creates the customer. The docs require billing details for this (billing_name,billing_address,billing_zip,billing_city,billing_country, andbilling_statefor some countries), plus any custom fields the provider has made mandatory. Your portal has to collect these before starting the checkout. - The backend sends
POST /services/{service}/subscriptionswithcustomer_id,plan_id,period_id,quantity,external_reference,return_urlandcancel_url. - It stores the returned
subscription_idandgroup_id, then redirects the user tocheckout_url.
Step 2 on the server, in the form the REST API integration docs use (uppercase values are placeholders; check fields and the response schema in the interactive API reference):
curl -X POST "https://api.komashi.com/v1/services/SERVICE_UUID/subscriptions" \
  -H "Authorization: Bearer $KOMASHI_API_KEY" \
  -H "Accept: application/json" \
  -H "Content-Type: application/json" \
  -d '{
    "customer_id": "CUSTOMER_UUID",
    "plan_id": "PLAN_UUID",
    "period_id": "PERIOD_UUID",
    "quantity": 1,
    "external_reference": "ord_2026_0042",
    "return_url": "https://app.example/subscription/return",
    "cancel_url": "https://app.example/subscription/cancel"
  }'
The response’s data contains checkout_url, subscription_id and group_id.
4. The return_url page doesn’t grant access straight away. It reads the subscription and opens access only when the state justifies it, showing a “processing” message until then.
2. Showing an existing subscription
-
With the widget: authorisation is more than putting the right ID into the HTML. You need all three:
- the page holding the widget is only reachable behind your own sign-in;
- your backend looks up the ID from the session’s user in your own database (
users.id→subscriptions.komashi_id) and never takes it from a URL, form field or cookie; - if the user has no subscription, the page renders no widget.
The browser can see IDs written into the HTML, so don’t assume the widget checks your user’s entitlement for you. Item 4 of the acceptance checklist tests this.
-
With your own view: the backend reads the subscription, usage and invoices and returns only records belonging to that customer. Check the filter parameters in the interactive API reference, opened from the Documentation link on Control Center → Integration → API.
3. Plan changes and cancellation
The widget also manages an existing subscription. If you build your own buttons, plan changes and cancellations use a key with Update. Cancellation follows your provider rules (period end or immediate). Under the plan change rules, an upgrade charges the prorated increase today, while a downgrade takes effect at the end of the cycle with no refund. Make your portal copy say the same as your rules.
4. Sync with webhooks
For a customer portal, the webhooks you typically need are customers.* plus subscription.create, subscription.update and subscription.delete. If your portal lists plans, catalogue changes arrive as service.* events. Don’t build on a generic payment or invoice event: the selectable list has none, so read invoices from the API.
- Verify the signature (HMAC-SHA256, hexadecimal) on the original request bytes before processing.
- Respond promptly with a 2xx code and do slow work in the background.
- A delivery has up to four attempts (retries after 10, 60 and 300 seconds), with no ordering guarantee and no universal delivery ID. Make processing idempotent, and read the current state from the API when in doubt.
- According to the docs, the Webhooks page currently has no copy control for the signing secret. Before you build, confirm how the secret will reach your receiving server securely.
Common mistakes
- Treating the return URL as payment. It only means the browser came back.
- Blindly retrying a write.
adjust-usageapplies the change again on every retry; after a timeout, read the current value first. The usage limits and add-ons page shows how allowances are set up. - Ignoring 429 responses. The REST limit is 100 requests per minute; wait and retry with backoff. List pages are capped at 100 items.
- Widgets inserted later in a single-page app. The loader initialises the embeds it finds on its first run; the docs describe no automatic rescan for embeds added later.
- A strict Content Security Policy. Allow the widget host for external scripts and frames.
- Writing the catalogue through the API. You configure the catalogue and coupons in the Control Center; the docs say not every catalogue item has a public REST write endpoint.
Acceptance checklist before go-live
Run this with a test customer in your own environment. Tests can involve real payments, so use the cheapest test plan you can.
- Each of your users maps to at most one stored
customer_id. - You can find your own order from the checkout’s
external_reference. - The
return_urlpage grants no access until the state has been read. - With another user’s subscription ID, the portal shows nothing.
- The widget or your own view shows only the user’s own subscription and invoices.
- Plan change copy in the portal matches Komashi’s confirmation screen (due today / next renewal).
- Cancellation follows your provider rule, and the portal says so.
- The receiver rejects a webhook with a deliberately wrong signature.
- Sending the same webhook twice does not apply the change twice.
- 401, 403, 409, 422 and 429 responses have a clear message in the portal and a log entry on the backend.
- The API key does not appear in frontend code, logs or error messages.
- You have rehearsed a key rotation: new key, configuration change, working check, old key deleted.
Next step
-
Starting as a developer? The first step takes fifteen minutes: create a Read-only key and list your services:
curl "https://api.komashi.com/v1/services" \
  -H "Authorization: Bearer $KOMASHI_API_KEY" \
  -H "Accept: application/json"
The response gives you the service, plan and period IDs to fill in your ID map. The REST API integration guide covers the full flow, and the Komashi developers page gives an overview of the API and webhooks.
-
Is the ready-made interface enough? Komashi’s storefront and customer portal work without development; the widget guide shows the embedding options.
Frequently asked questions
Do I need to build my own customer portal to use Komashi?
No. Customers can manage their subscriptions on your storefront and, after signing in, in Komashi's customer portal. You need your own portal only when customers already sign in to your application and you want to show their plan, invoices or usage there.
Which permissions does the API key need?
Read is enough for reading the catalogue, customers, subscriptions, invoices and usage. Creating customers and checkouts needs Create; plan changes, cancellations and usage updates need Update. Cancellation needs Update even though it is a DELETE request. Don't save a key with no permission selected: the current form gives it full access.
Is the return URL enough to grant access?
No. The return URL only tells you the browser came back. Read the subscription's current state through the API before granting paid access.
What should I watch for with webhooks?
Verify the HMAC-SHA256 signature on the original request bytes, respond quickly with a 2xx code and process events idempotently: a delivery can arrive up to four times and there is no ordering guarantee. When in doubt, read the current state through the API.
Can the API key go into the browser or the widget?
No. The REST key belongs on your server only. The widget embed code contains no API key, but your backend must decide whether the signed-in visitor may see the subscription ID it renders.
Sources and further reading
- Komashi Docs — REST API integration
- Komashi Docs — API keys
- Komashi Docs — Webhooks
- Komashi Docs — Embed widgets
- Komashi Docs — Subscriptions
- Komashi Docs — Who is a developer?
Updated:
More articles
Subscription billing: build or buy? A decision worksheet
Build subscription billing or use ready-made subscription billing software? A scored requirements worksheet, ownership boundaries and three worked decisions.
White-label customer portal for subscriptions: a planning checklist
Plan a white-label customer portal for subscriptions: who handles cancellations and invoices, how VAT is applied, and what to test before launch.
How to turn a one-off service into a subscription
Turn one-off work into a service subscription model: a worksheet from past jobs, a pricing example, package structure and a migration plan for existing clients.